Lake McDonald Rainbow Rocks: How to Photograph the Colored Pebbles
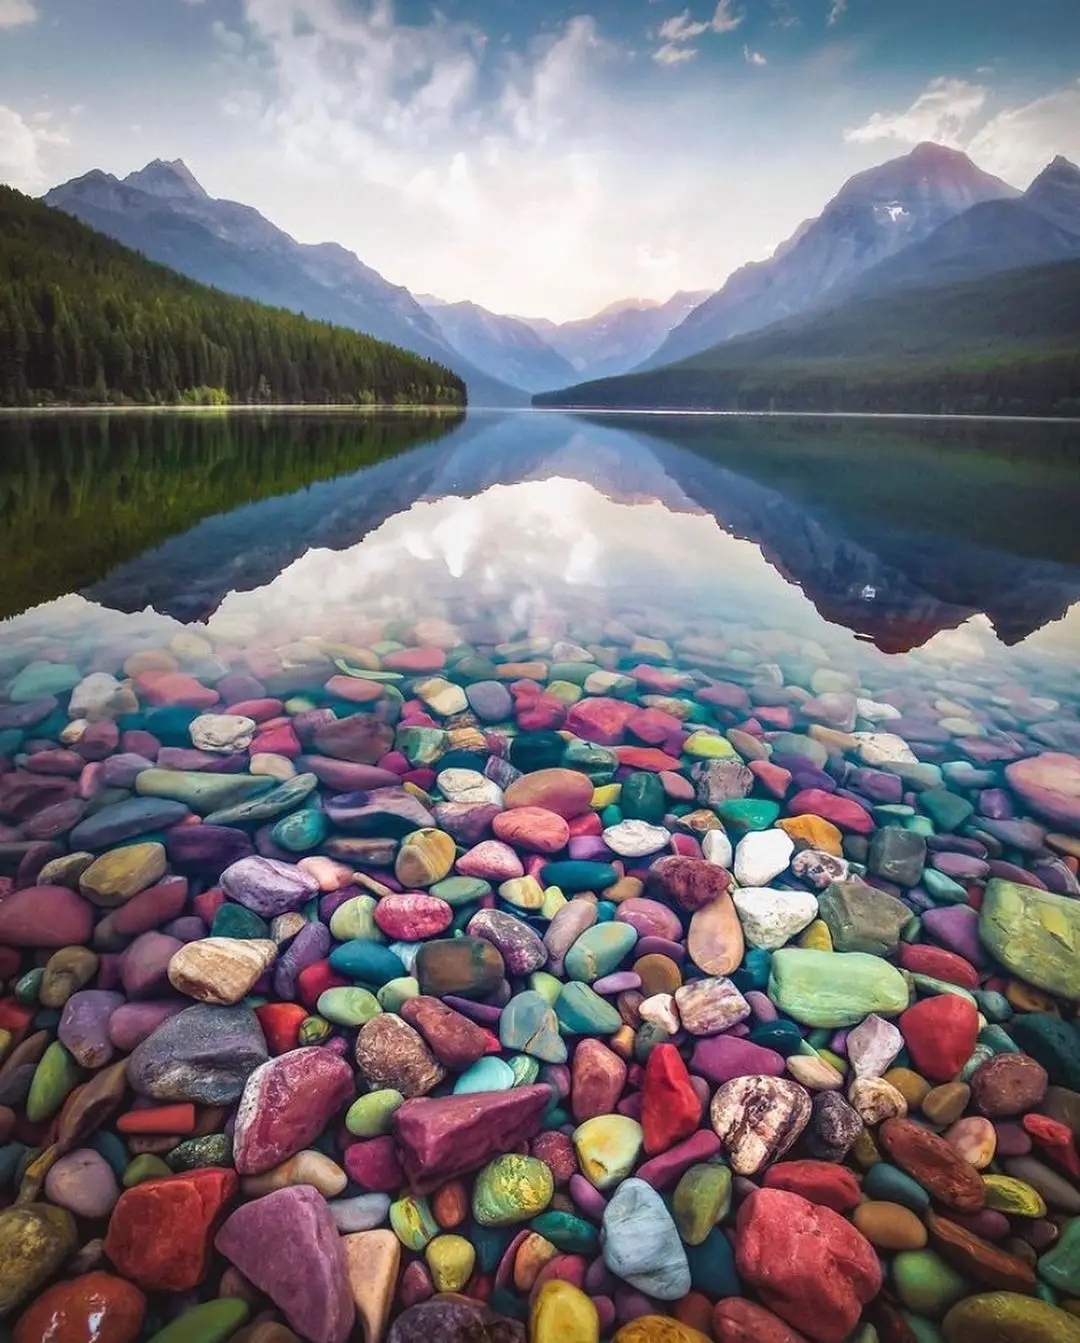
The rainbow rocks at Lake McDonald are 1.4-billion-year-old argillite pebbles whose iron content produces vivid reds, greens, and purples depending on the oxygen levels present when they formed. Photographing them well requires one essential piece of gear — a circular polarizing filter — plus the right timing, location, and camera angle. This step-by-step guide walks you through every decision from planning your visit to pressing the shutter.
The colored pebbles look most vivid when submerged in 6 to 18 inches of clear water during golden hour. Late July through mid-September delivers peak water clarity after glacial snowmelt runoff clears. Follow the steps below to capture the shot that brings visitors to Glacier National Park from around the world.
- A circular polarizing filter (CPL) is the single most important piece of gear — it removes water surface glare and reveals submerged rock colors.
- Best photography window: late July through mid-September when glacial snowmelt clears and water transparency peaks.
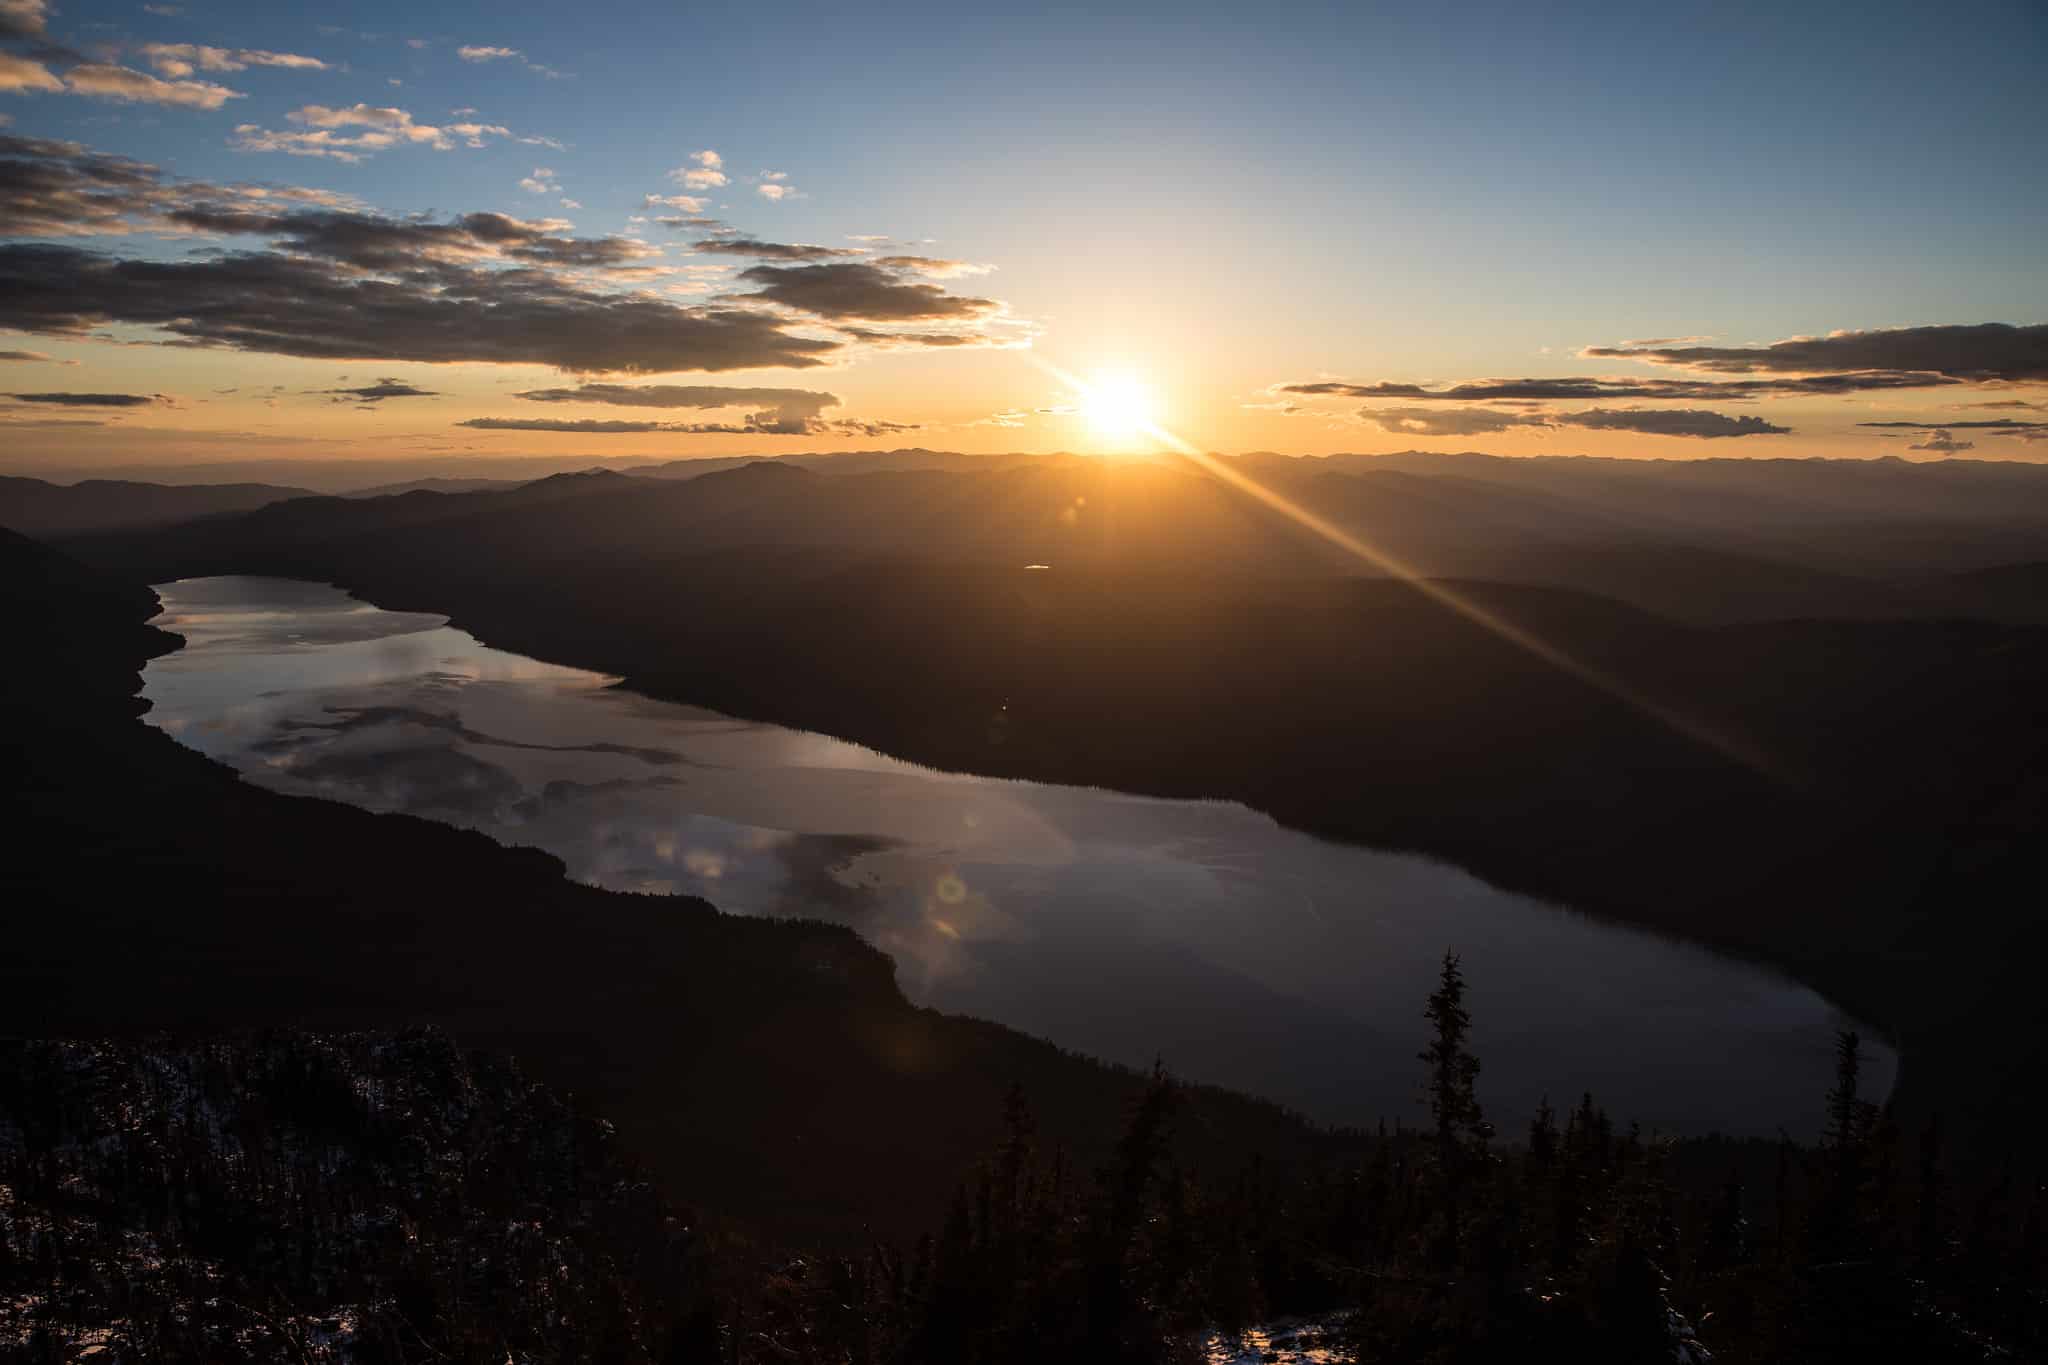
- Shoot 20 to 30 minutes after sunset for the classic glowing-rocks look — calm water, no glare, even light.
- Top spots: Apgar Beach (easiest access), Sprague Creek (best wading), Lake McDonald Lodge shoreline (mountain backdrop).
- Red rocks = Grinnell Argillite (iron oxidized in oxygen-rich conditions). Green rocks = Appekunny Argillite (iron reduced in low-oxygen burial).
- 2026 access: $35/vehicle entrance fee, no vehicle reservation required, new ticketed shuttle ($1 booking fee via Recreation.gov).
Step 1: Understand the Geology
What to do: Learn what creates the colors so you can find and frame the most vivid pebbles on the shoreline. The rocks are not painted or dyed — their color is a 1.4-billion-year-old chemical signature locked into the stone itself.
Some links below are affiliate links.
Why it matters: Knowing the geology tells you which colors cluster together and where to look. Red and green argillite beds alternate in the Belt Supergroup formation, so patches of the shoreline concentrate one color while other stretches mix them. Recognizing this pattern helps you compose shots with deliberate color contrast.

| Rock Color | Formation | Why That Color |
|---|---|---|
| Red / orange | Grinnell Argillite | Ferric iron oxidized in ancient oxygen-rich tidal flats |
| Green | Appekunny Argillite | Chlorite mineral formed under low-oxygen, deeper-water burial |
| Purple | Intermediate layers | Partial oxidation states between red and green argillite beds |
| White / gray | Belt Supergroup limestone | Calcium carbonate from ancient shallow marine environments |
| Black | Darker argillite varieties | Higher carbon content under reduced oxygen conditions |

Step 2: Choose Your Timing
What to do: Plan your visit for late July through mid-September, and shoot during the 20 to 30 minutes after sunset for the classic glowing-rocks image. Arrive at your chosen spot 45 minutes before sunset to set up.
Why it matters: Glacier receives heavy glacial snowmelt through June, carrying fine rock particles (glacial flour) that cloud the water. By late July, runoff clears and the lake hits its annual clarity peak, per NPS.gov. Timing your visit outside this window means shooting through murky water.
| Light Condition | When | Best For |
|---|---|---|
| Golden hour sunset | 45 min before sunset | Warm orange and pink light intensifies red argillite tones |
| Post-sunset glow | 20-30 min after sunset | Even blue-violet light, zero glare, perfectly calm water |
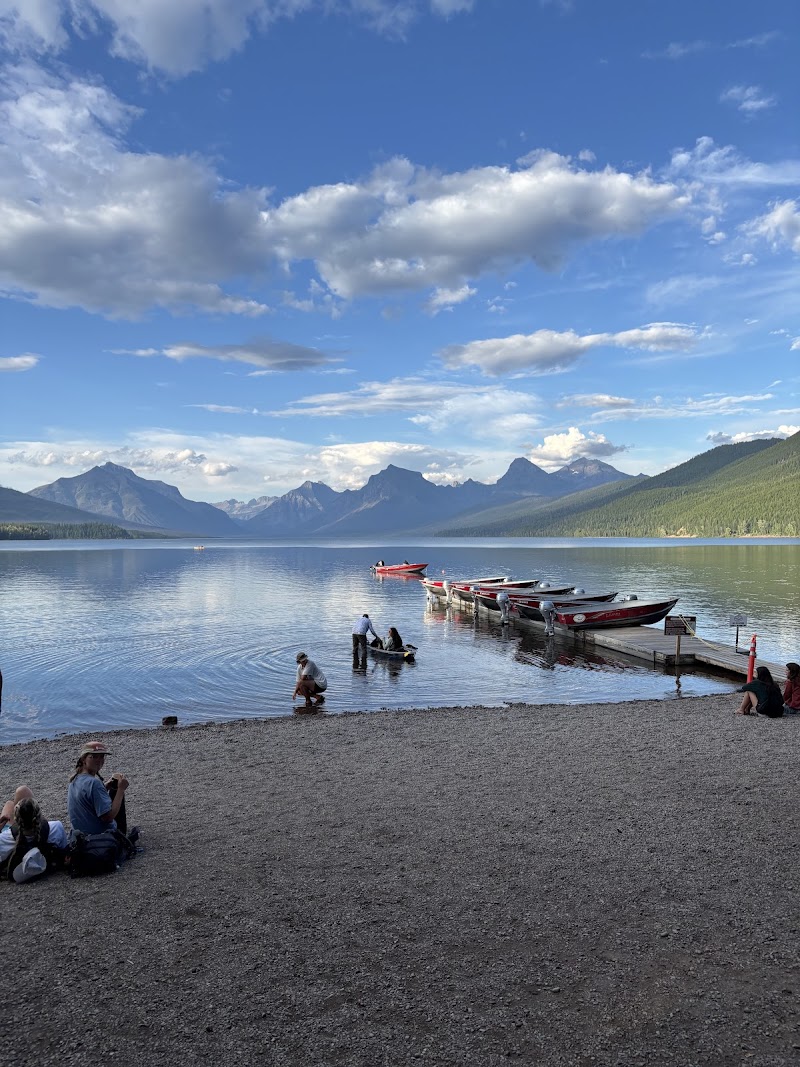
| Sunrise | 30 min before sunrise | Calmest water of the day, dock leading line into frame |
| Overcast midday | Cloud cover, any time | Soft diffused light for macro close-ups, no harsh shadows |
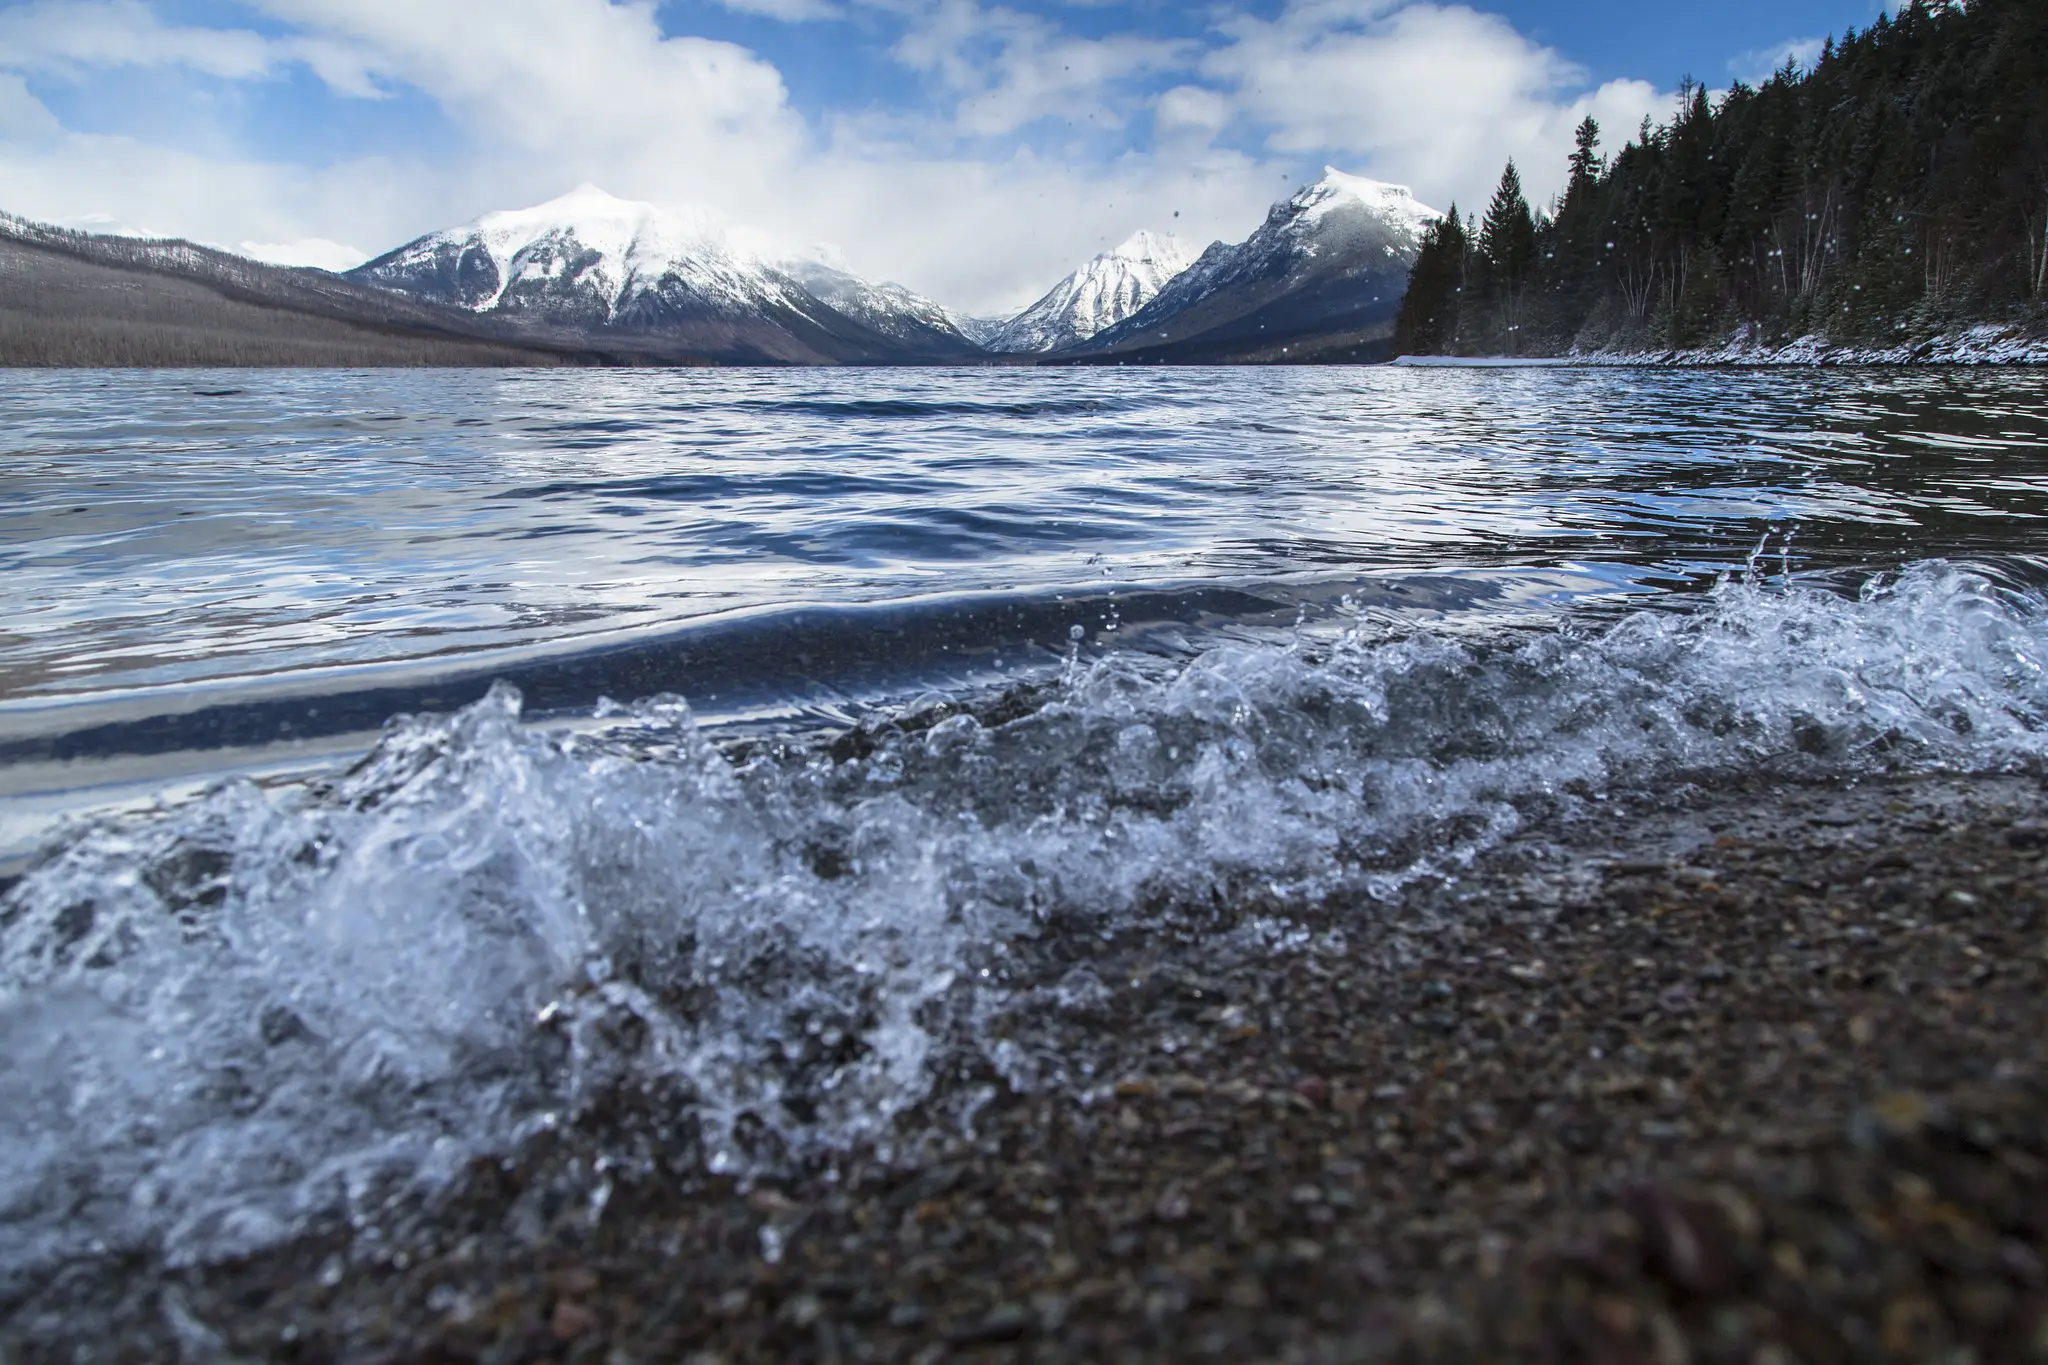
Gotcha: Lake McDonald faces west, so sunset backlights the eastern mountains and casts warm light directly onto the western shore pebbles. Sunrise illuminates the peaks first but leaves the shoreline in cool shadow for the first 30 minutes. Plan your composition around this directional light.
The overlooked window: Mid-September to early October delivers equal water clarity with 60 to 70 percent fewer visitors, golden aspen reflections, and fresh snow on the peaks. If you can schedule a September trip, you may have entire beaches to yourself.
Step 3: Pick the Right Spot
What to do: Head to the west and south shores near Apgar Village for the highest concentration of colorful pebbles in shallow, clear water. The four spots below are your best options, per NPS.gov.
| Location | Access | Best For |
|---|---|---|
| Apgar Beach | Walk from Apgar Visitor Center parking (free) | Widest rock variety, dock as compositional anchor, easiest for families |
| Sprague Creek area | GTSR pullout, 2 miles east of Apgar | Best shallow wading, highest pebble concentration for close-ups |
| Lake McDonald Lodge shoreline | Lodge parking lot, Going-to-the-Sun Road | Historic 1914 lodge backdrop, mountain reflections |
| Southeast shore | Lodge trail or road access | NPS-cited best concentration of multicolored rocks |

Gotcha: The sweet spot for submerged rock photography is 6 to 18 inches of water depth — shallow enough for color clarity through the water column, deep enough that the rocks are fully covered, eliminating dry-surface glare. Wade in wearing water shoes (the pebbles are slippery) and position yourself directly over the most vivid color zone.
Some links below are affiliate links.
Step 4: Gear Up
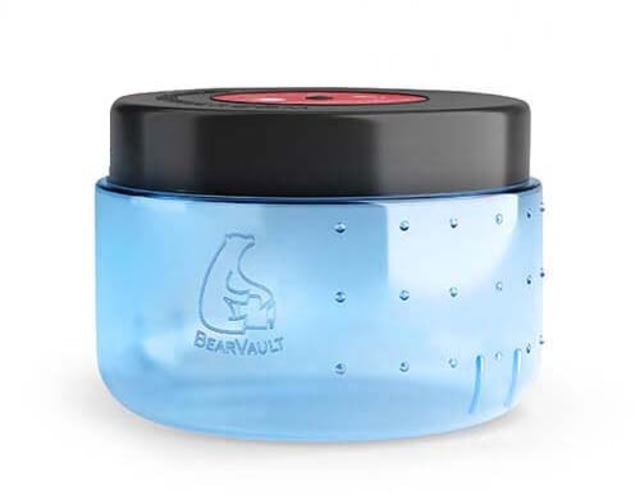
What to do: Pack a circular polarizing filter, a tripod, water shoes, and a microfiber cloth. The CPL is the non-negotiable item — without it, surface glare washes out every submerged rock color.
Why it matters: A CPL removes specular highlights from the water surface by filtering polarized light. Rotate the filter ring while looking through the viewfinder until glare minimizes — that locked position reveals the true red-green-purple palette beneath the surface. Position yourself so the sun is roughly 90 degrees to your shooting direction for maximum polarization effect.

Gotcha: Avoid using CPL filters with lenses wider than 20mm focal length. Very wide angles produce uneven, banded polarization across the frame, creating visible gradients that look unnatural and are difficult to fix in post-processing.
Step 5: Set Up Your Camera
What to do: Set ISO 100 to 200, aperture f/8 to f/11 for edge-to-edge sharpness, and let shutter speed float on aperture priority. Mount the CPL filter and rotate until glare disappears in your viewfinder. Set white balance to daylight or shade depending on conditions.
Why it matters: Low ISO keeps noise out of the shadow details in the dark rock surfaces. The f/8 to f/11 range hits the lens’s sharpest aperture sweet spot while keeping both foreground pebbles and background mountains in focus. Letting shutter speed float means the camera compensates automatically as light changes during golden hour.
| Setting | Recommended Value | Why |
|---|---|---|
| ISO | 100-200 | Minimum noise, maximum detail in rock textures |
| Aperture | f/8 to f/11 | Sharpest aperture range, deep depth of field |
| Shutter speed | Auto (aperture priority) | Adapts as light changes during golden hour |
| White balance | Daylight or Shade | Shade adds warmth; daylight stays neutral |
| File format | RAW | Maximum editing latitude for color grading |
| Focus mode | Manual or single-point AF | Lock focus on the pebbles, not the water surface |
Gotcha: After sunset, shutter speeds will drop below 1/30 second. Switch to your tripod and use a 2-second timer or remote release to eliminate camera shake. A 1 to 4 second exposure during the post-sunset glow produces silky water that reveals pebble colors through the blurred surface.
Step 6: Compose and Shoot
What to do: Get low — nearly at water level — and use the rocky shoreline as a leading line into the mountains. Place the most colorful pebble cluster in the foreground third of your frame. Shoot multiple compositions: wide landscape, mid-range, and tight macro.
| Shot Type | Focal Length | Composition Tip |
|---|---|---|
| Wide landscape | 24-35mm | Get low, use rocky shoreline as leading line into mountains |
| Pebble close-up | 50-100mm | Fill frame with 4-6 contrasting stones, CPL essential |
| Reflection shot | 35-50mm | Include Apgar dock as anchor, shoot early morning for calm water |
Why it matters: The low angle is what separates a snapshot from a portfolio image. At eye level, you see mostly water surface. At 6 inches above the water, the camera looks through the water column at the pebbles below, and the mountains fill the upper third naturally. This perspective creates the depth and scale that makes Lake McDonald photographs instantly recognizable.
Gotcha: Check for your own shadow in the frame when shooting with the sun behind you. Shift your position one to two feet sideways to eliminate it. Also watch for footprints in the soft sand near the waterline — step carefully and shoot the undisturbed areas first.
Step 7: Review and Adjust in the Field
What to do: After your first 10 shots, zoom into the LCD at 100 percent and check three things: focus on the pebbles (not the water surface), CPL effectiveness (no remaining glare hotspots), and exposure (histogram not clipping shadows or highlights). Adjust and reshoot before the light changes.
Why it matters: Golden hour light shifts fast — you have roughly 20 to 30 minutes of peak color. Spending 5 minutes on review after your first burst ensures the remaining 15 to 25 minutes produce technically clean frames instead of discovering soft focus or blown highlights on your computer at home.
2026 Visitor Info: Fees, Shuttle & Parking
Several access changes affect visiting Glacier in 2026, per NPS.gov. The Lake McDonald area near Apgar Village is among the least-congested zones of the park — most visitors drive directly to Logan Pass.
| Item | 2026 Details |
|---|---|
| Entrance fee (vehicle) | $35 per private vehicle |
| Entrance fee (individual) | $20 per person (hiker/biker) |
| America the Beautiful Pass | $80/year — covers all federal fee sites |
| Vehicle reservation required? | No — no vehicle reservations for Going-to-the-Sun Road in 2026 |
| Shuttle system (new) | Ticketed, $1 Recreation.gov booking fee. Book 60 days ahead (opens May 2) or next-day at 7 p.m. MDT |
| Logan Pass parking (new) | 3-hour maximum for private vehicles, effective July 1 |
Arriving before 9 a.m. or after 4 p.m. makes parking at Apgar straightforward even on peak August days. A separate free shuttle runs within Apgar Village to Lake McDonald Lodge — no ticket or booking required.
Frequently Asked Questions
Why are the rocks at Lake McDonald so colorful?
The rocks are 1.4-billion-year-old argillite from the Belt Supergroup. Red and orange rocks come from the Grinnell Formation, where iron was oxidized in ancient oxygen-rich tidal flats. Green rocks come from the Appekunny Formation, where iron bonded with silica under low-oxygen burial conditions. Purple rocks represent intermediate oxidation states. Water saturates the colors — submerged rocks appear far more vivid than dry ones because water fills microscopic surface pores.
What is the single most important piece of gear for photographing the rainbow rocks?
A circular polarizing filter (CPL). Without it, the water surface throws back specular highlights that wash out submerged rock colors. With a CPL attached and rotated to the correct angle, those reflections disappear and the true red, green, and purple palette saturates fully. Position yourself at roughly 90 degrees to the sun for maximum polarization effect.
When is the best time of year to photograph Lake McDonald’s pebbles?
Late July through mid-September delivers the clearest water. June brings glacial snowmelt runoff that clouds the lake with fine rock particles. Mid-September is the underrated sweet spot — equal water clarity, 60 to 70 percent fewer crowds, golden aspen reflections, and snow on the peaks. For time of day, the 20 to 30 minutes after sunset produces the classic calm-water glowing-rocks image.
What camera settings should I use for rainbow rock photography?
Set ISO 100 to 200, aperture f/8 to f/11, and let shutter speed float on aperture priority mode. Use a CPL filter and rotate until glare disappears in the viewfinder. After sunset, switch to a tripod and use 1 to 4 second exposures for silky water that reveals pebble colors. Shoot in RAW format for maximum editing latitude during color grading.
Can you take rocks home from Lake McDonald?
No. Removing any natural material from any national park is a federal crime under 36 C.F.R. section 2.1, enforced by the National Park Organic Act. Violators face criminal penalties including fines and up to 6 months imprisonment. Rangers actively enforce this rule at Lake McDonald, particularly at Apgar Beach. A well-composed photograph is a permanent record that leaves the lake exactly as you found it.
How We Researched This Guide
- NPS.gov — Glacier National Park geology, Lake McDonald visitor information, and 2026 visitor access updates
- NPS.gov — Rock collection regulations under 36 C.F.R. § 2.1 and the National Park Organic Act
- Belt Supergroup stratigraphic literature on Grinnell Formation (ferric iron) and Appekunny Formation (chlorite mineralogy)
- Recreation.gov — 2026 shuttle booking details and Logan Pass parking rule changes
- Photography community guidance on CPL filter technique, focal length selection, and golden hour timing for lake rock photography
Going-to-the-Sun Road opening dates vary by snowpack year — verify current conditions on NPS.gov before visiting. Shuttle availability and fee structures may change; confirm on Recreation.gov before booking. Camera settings are starting points — adjust for your specific gear and conditions.
Planning a trip to photograph Lake McDonald’s rainbow rocks? Check current road conditions, shuttle availability, and entrance requirements on the official NPS site.